Installation
TimeShift needs Blender 4.2 or newer and installs as a Blender extension.
- Download
timeshift-<version>-extension.zipand keep it zipped. - In Blender, open Edit > Preferences > Get Extensions.
- Open the dropdown at the top right, choose Install from Disk… and pick the zip. Dragging the zip onto the Blender window also works.
- Check that TimeShift is enabled in the list.
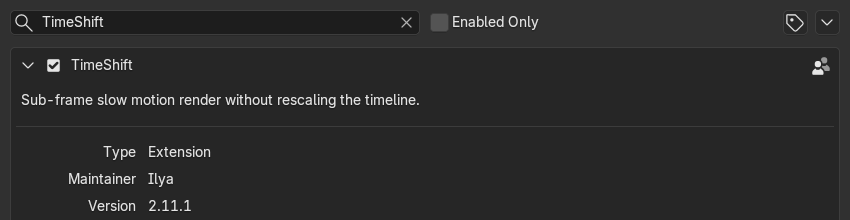
Blender shows one permission during install: TimeShift writes rendered frames to the output folder you choose. To update, install the new zip the same way; it replaces the old version. Restart Blender if a panel does not refresh.
Prefer the classic route? Preferences > Add-ons > dropdown > Install from Disk… installs it as a legacy add-on.
Once enabled, TimeShift appears in three places:
| Where | What it holds |
|---|---|
| Properties > Output > TimeShift | The full panel: range, chunks, simulations, outputs, options, preview and render. Collapsed by default. |
| 3D Viewport > Sidebar (N) > TimeShift | A compact panel: chunks, range, preview and render. |
| Timeline / Dope Sheet > Sidebar (N) > TimeShift | The same compact panel, plus drag-to-create chunks. |